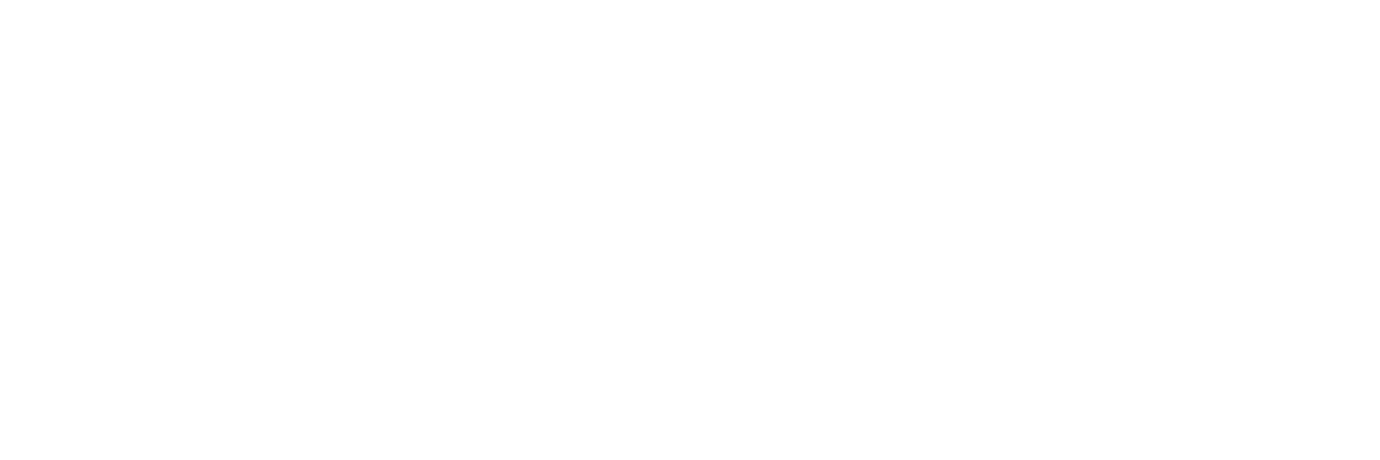

Rayshape Edge Mini
There are so many different dental 3D printers out there in the market so it’s very challenging for companies to come up with a product that differentiates itself from the crowd. Rayshape’s newest entry to its family of dental 3D printers, the Edge mini, is targeted towards the chairside (clinical) market, and boasts a low profile and compact footprint, making it ideal for practices where space is limited.
This is a personal and individual opinion on the Rayshape Edge mini. Rayshape nor any of its global distributors have not been involved in the writing or editing of this piece and have not restricted any conclusions made by myself of this product.
Notable features
- Compact footprint
- Magnetic vat locking system
- Heated build platform
- Dedicated mini and standard vat and build platform set ups
- Printability analysis via slicer
- Open resin library which for now is still relatively limited
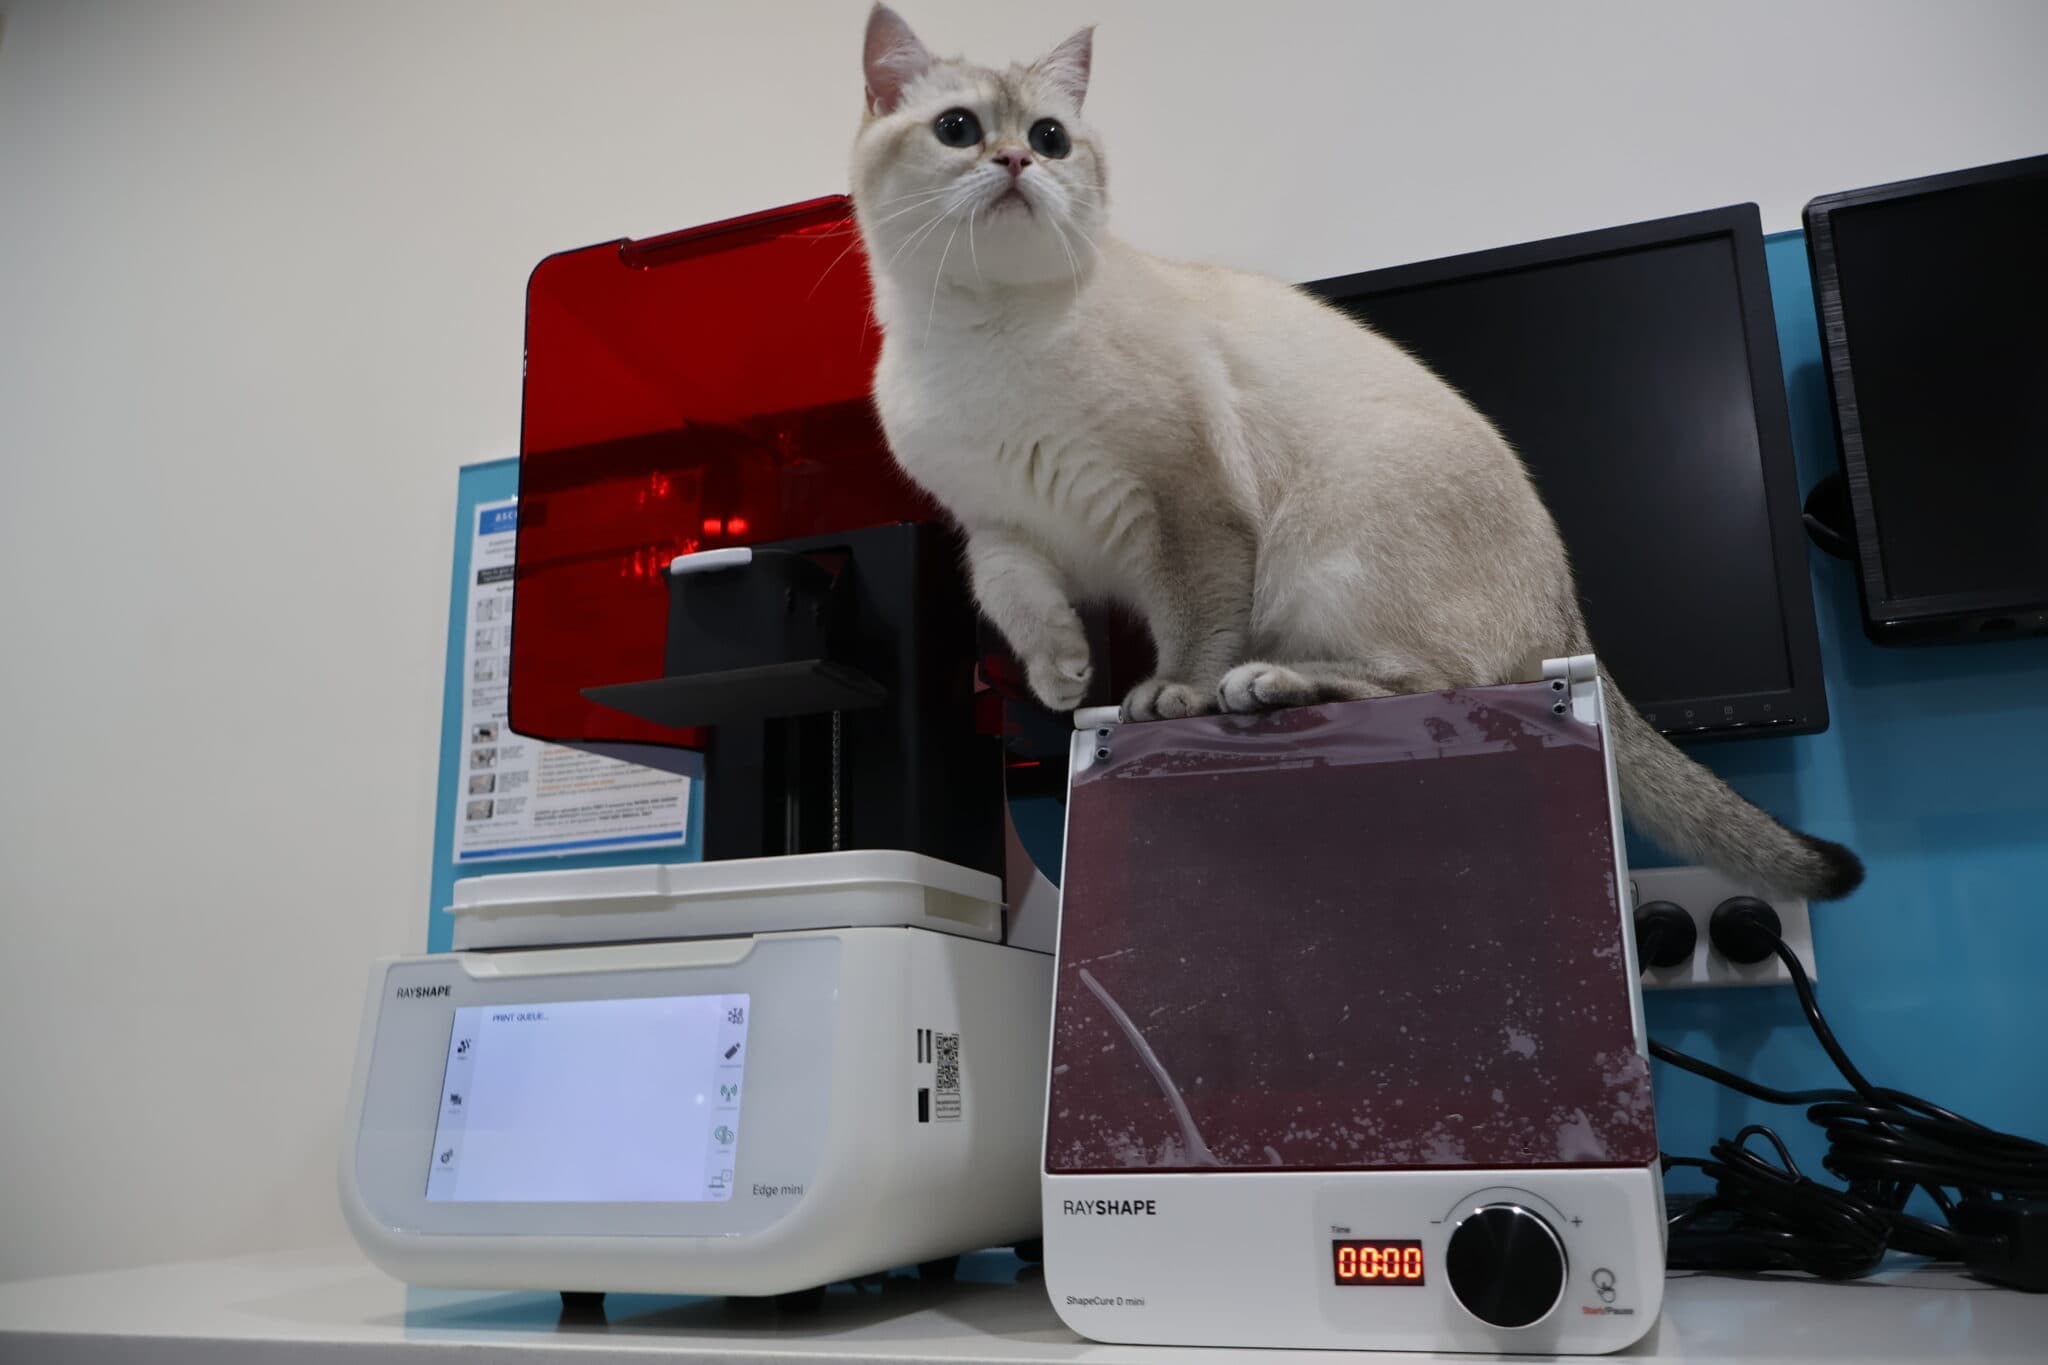
- Great print quality
- Consistent prints that don’t take ages
Basics
| Printer size | 30 x 28 x 43cm |
| Weight | 80 bananas* |
| Technology | LCD |
| Print volume | Std plate: 13 x 8 x 10cm Mini plate: 6 x 6 x 10cm |
| Slicer | ShapeWare 2.0 |
| XY resolution | 35 µm |
| Price guide | US$2500-2800 |
* 1 banana = 0.15kg
Set up
The set-up experience of the Edge mini was very straightforward. From unboxing to running my first print, it literally took me less than 15 minutes. The printer Z-axis came pre-levelled and did not require any tinkering. If there ever was a need to relevel it, it can be done via a wizard accessed through the printer’s UI.
Connection to the internet was predictable and simple but curiously I couldn’t see an update-via-wifi function which would be nice to have.
Vats come with corresponding covers which seems to be the standard with many printers out there in the market now. I wish they would stack a bit easier though.
For those completely new to 3D printing, there is a manual accessible via the printer itself which is a nice touch and saves the user from making a mad scramble for a physical set of instructions.
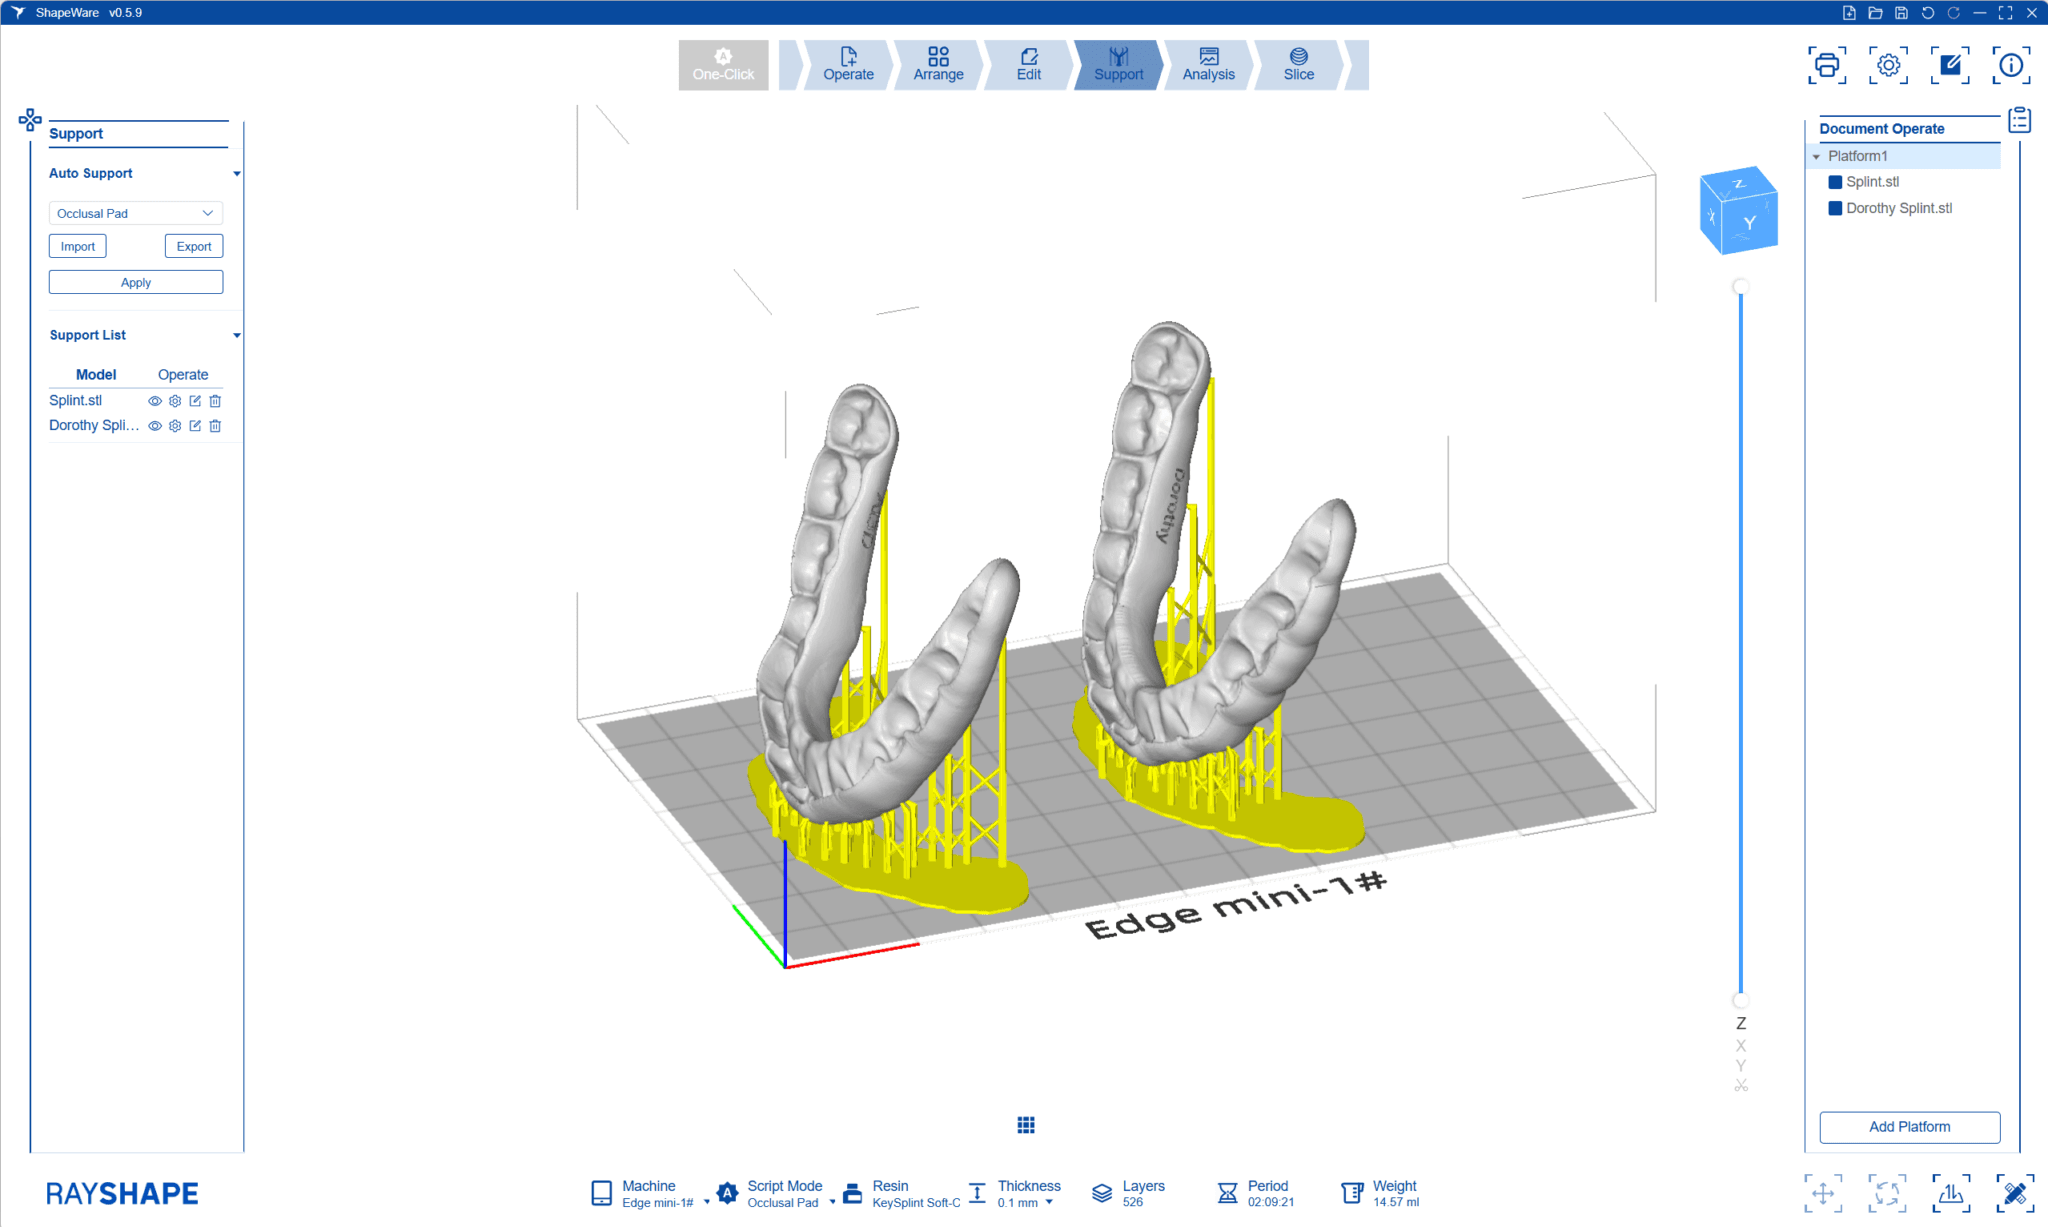
Software
No dongles are WiFi required for ShapeWare 2.0. Hurray!
ShapeWare 2.0 itself is pretty stock standard and software utilization from file importing to print file exporting flows pretty well. Like with many other slicers out in the market, you will designate the type of appliances you are printing, followed by the resin to be used and layer height.
As long as your PC and ShapeWare 2.0 are connected to the same Wi-Fi network, you can send the sliced print file directly to the printer. Jobs are overall sent quickly and consistently via Wi-Fi. You have to start the print directly on the printer itself. Just be aware that it is not immediately obvious where to “add” your printer – it’s in an easy-to-miss “Device Manager” section in the “Manage Platform” section.
There are some nice model editing functions – you can convert a well-cropped scan into a printable model directly within the slicer. There are also some standard hollowing and infil tools accessible for the user too.
ShapeWare 2.0 also boasts a “One-Click” printing functionality which allows automatic nesting, orientation, supporting and slicing of certain uploaded applications (e.g. models and crowns). As cool as this sounds, I did admittedly find this function a little unpredictable and buggy. You do have to keep an eye on orientation and supporting of surgical guides and restorations to make sure that the supports aren’t embedded in critical areas. Once in a while I also experienced supports not actually attaching to the print during the slicing stage, so hopefully these issues are addressed with future software updates.
Resin library
The Edge mini is an open system but the resin library is not extensive. This is definitely being worked on by the RayShape team, and having seen what is in the pipeline (kindly shared to me confidentially by the RayShape team), I think users are going to be very pleased in the coming 6-12 months. As of right now though, there are not too many ceramic-filled resins validated for the mini plate so those who are interested in printing temporary and definitive restorations may have to wait a little longer. That being said, there are pretty common resins for every common printable dental application so users shouldn’t be too worried that they can’t source resins to print on the Edge mini.
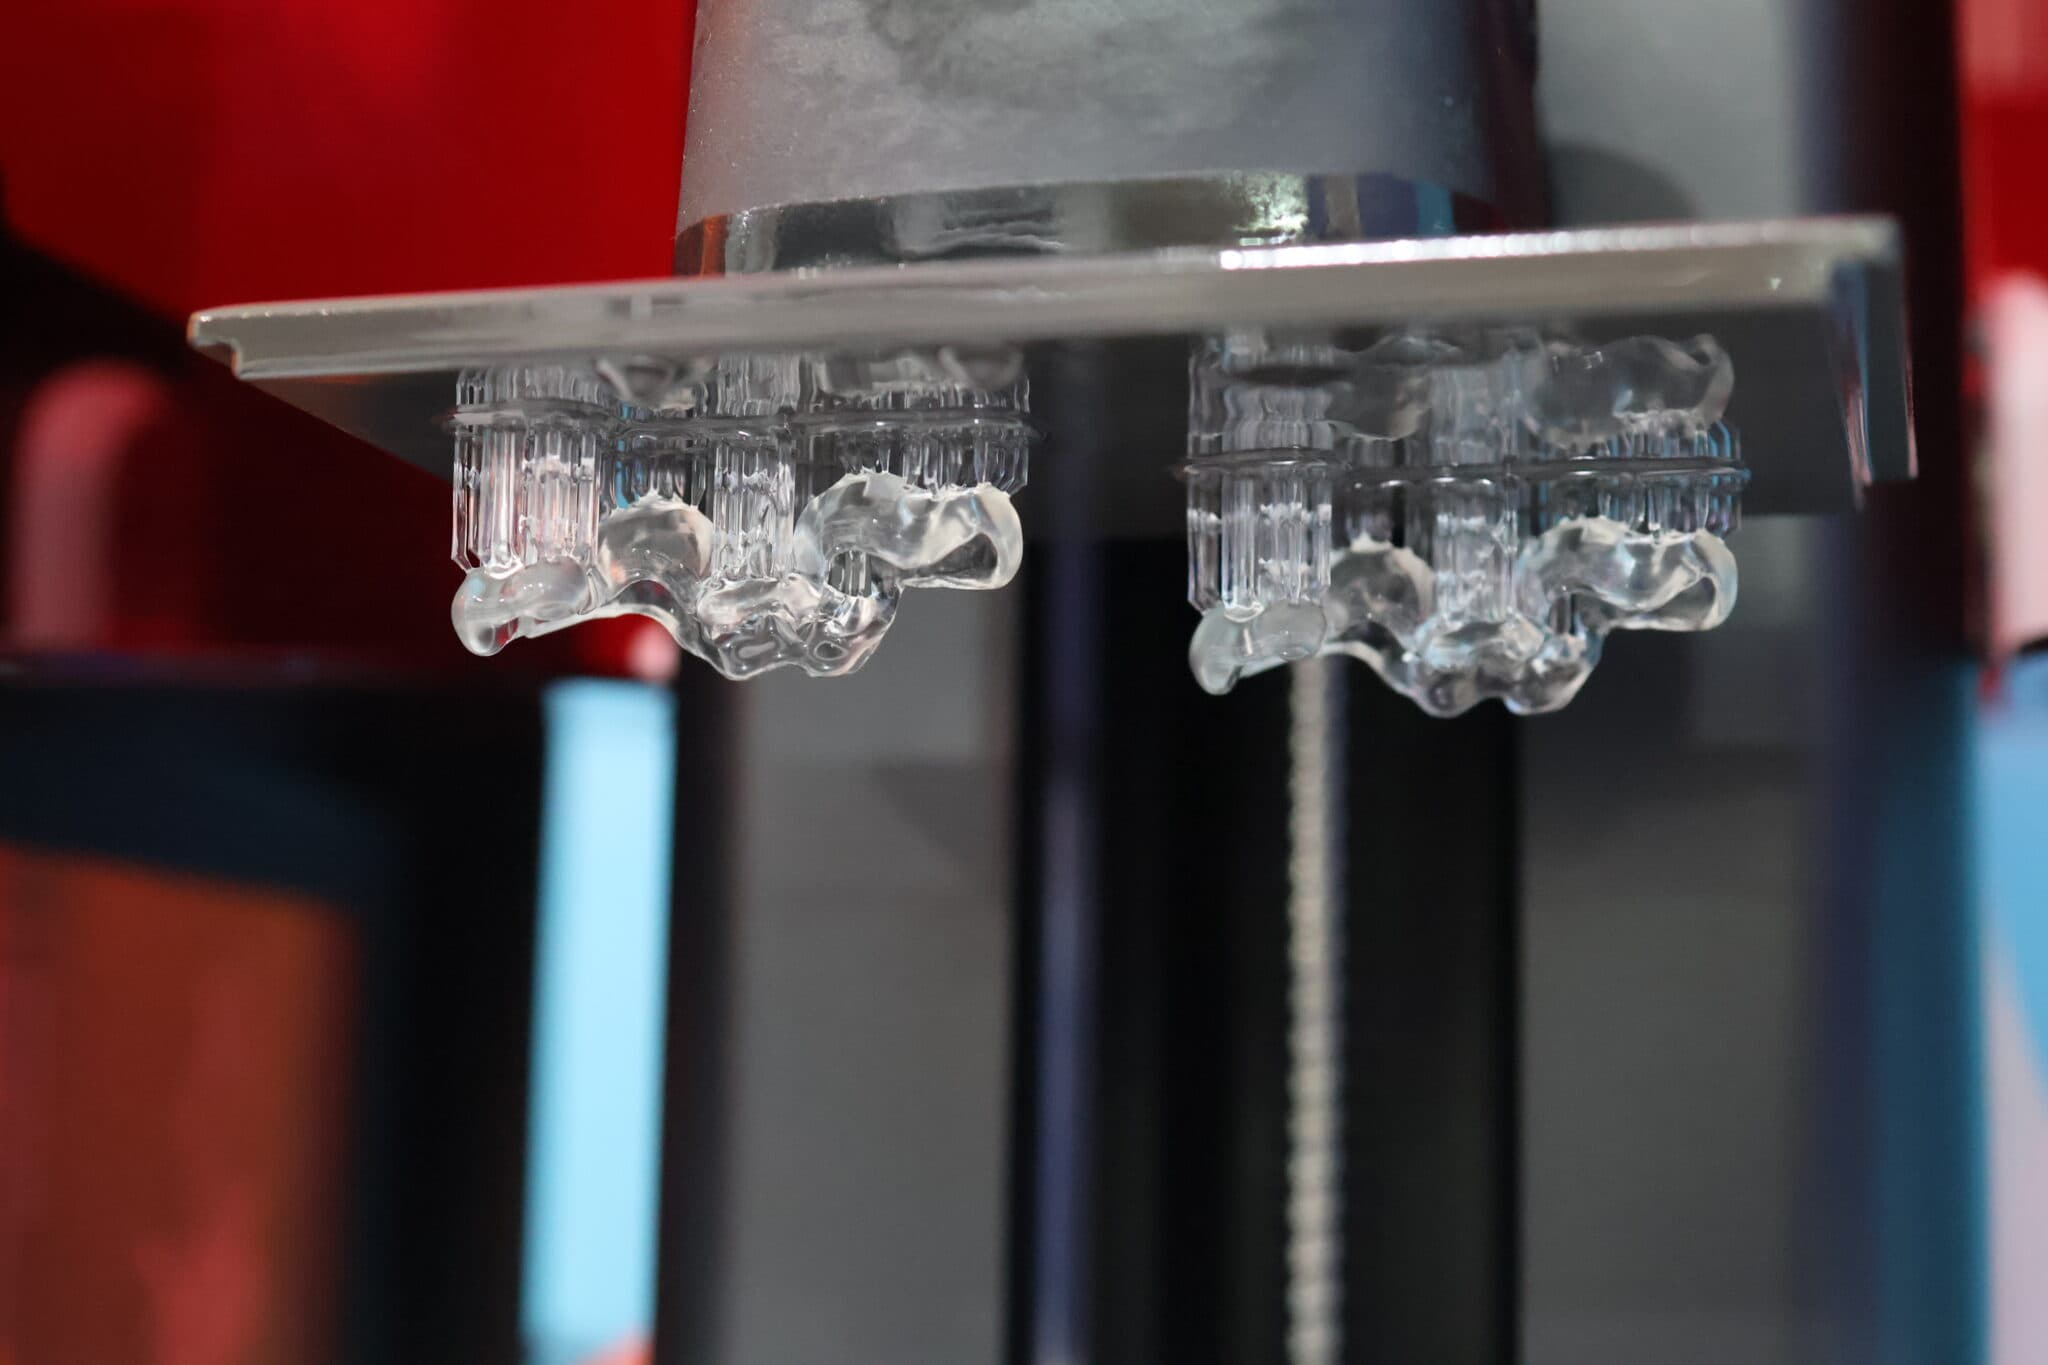
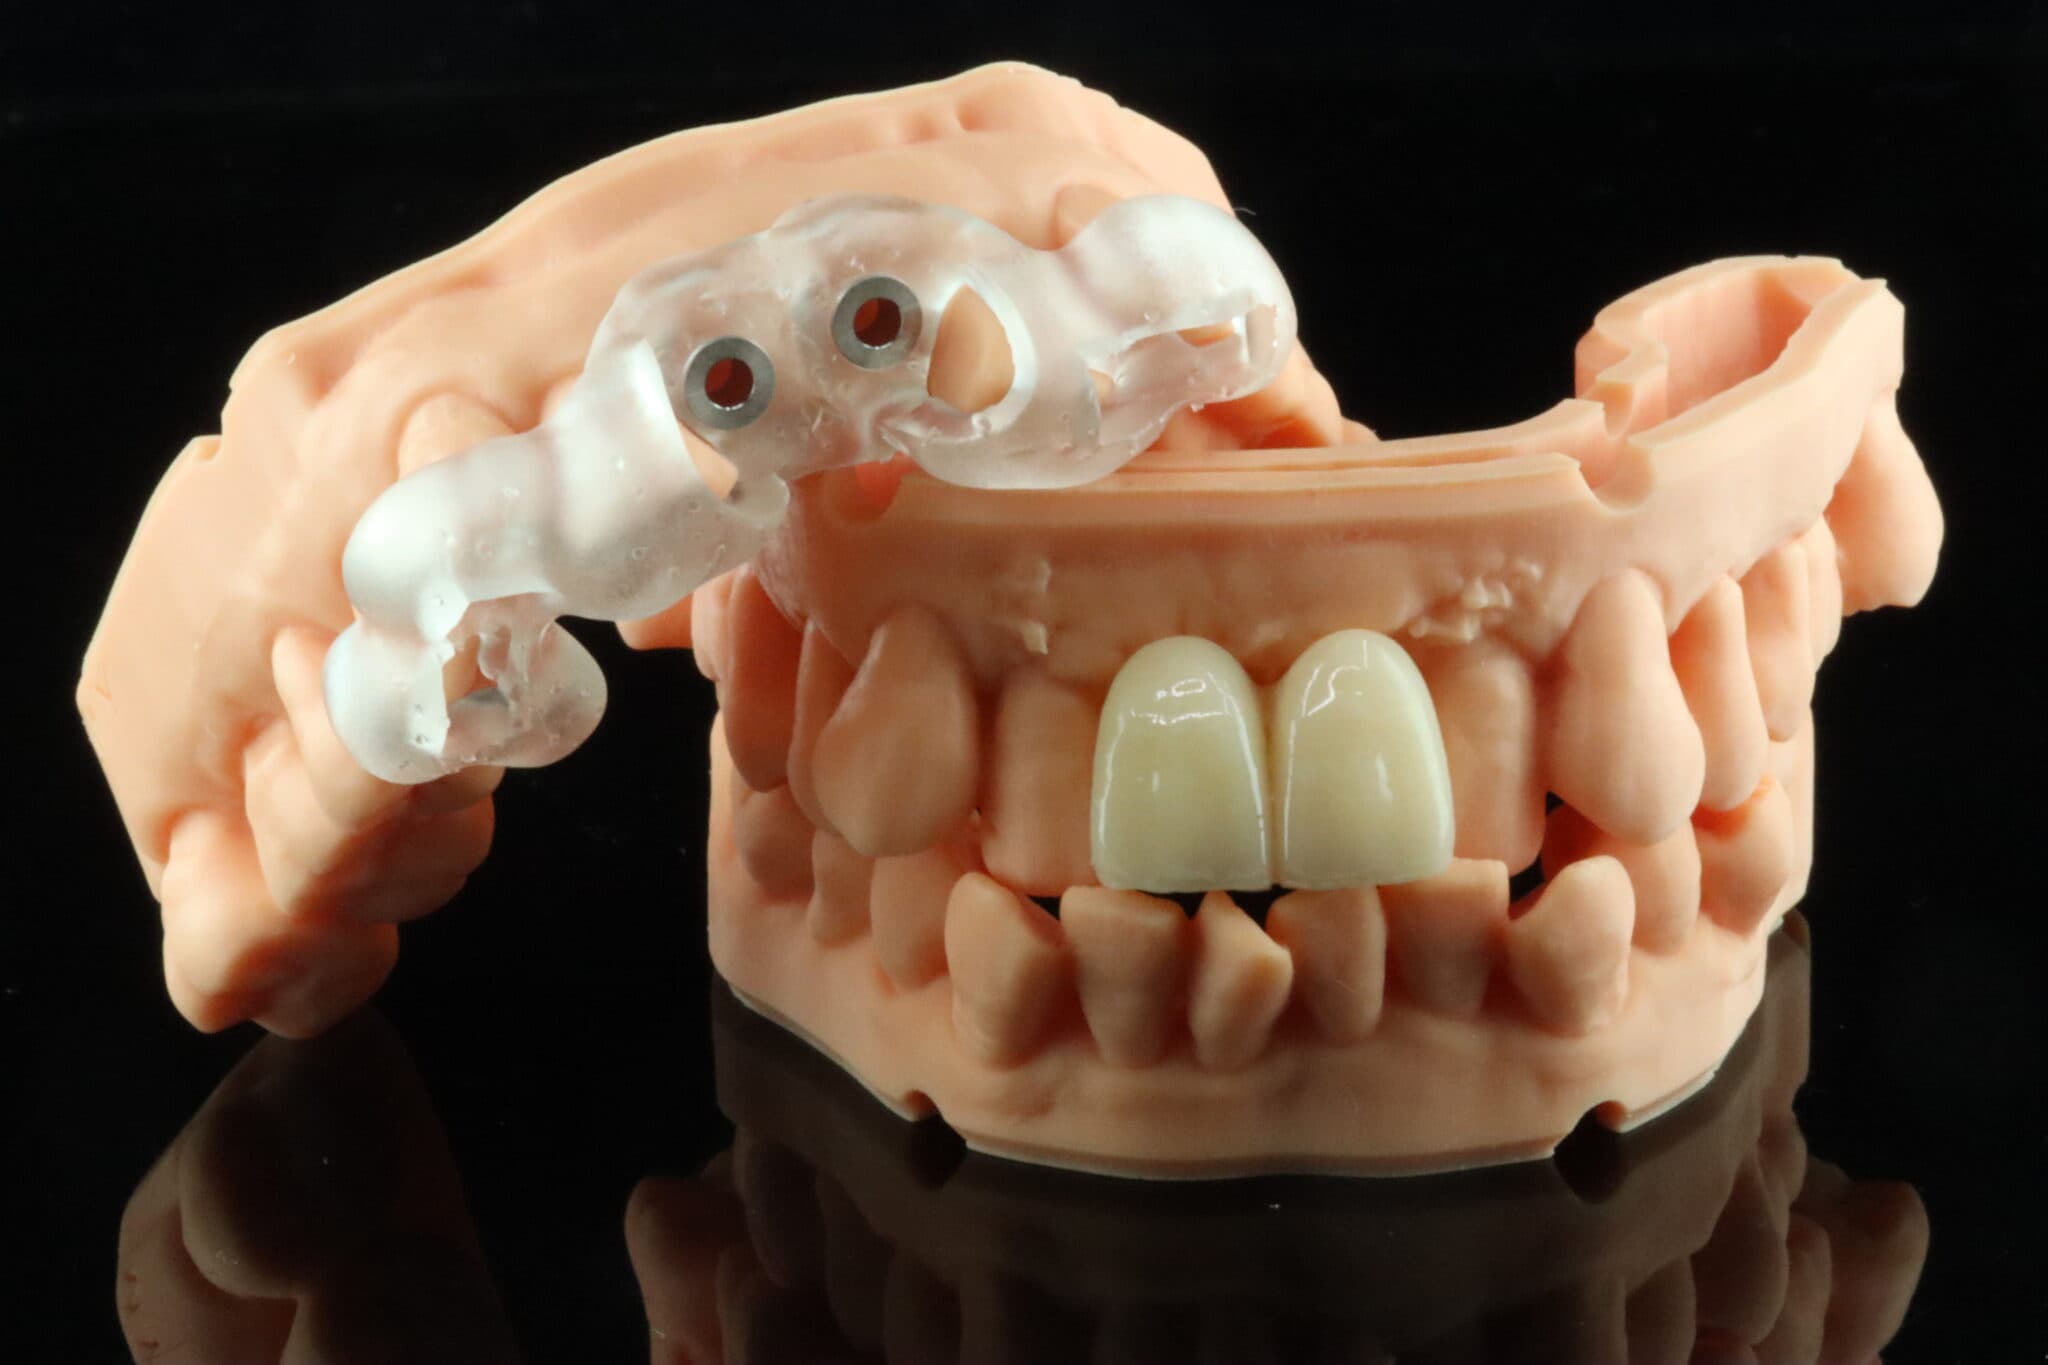
The printing experience
Frankly, the Edge mini experience was better than expected considering the price point. At no point did I experience any hardware-associated failures. The Edge mini uses vat heating and there is an option on the printer to pre-warm your resin.
I like the size and I have a soft spot for compact set ups. The Edge mini is great for those wanting to dip their toes into dental 3D printing without blowing the budget and occupying a tonne of space. I would actually hazard to say that the Edge Mini is TOO light – there were a couple of times where I accidentally bumped into the printer or lifted the lid up too quickly and I was able to move the unit (and resin vat inside) very easily. The printer itself is pretty discreet during operation which allows it to be used chairside without annoying patients and your staff.
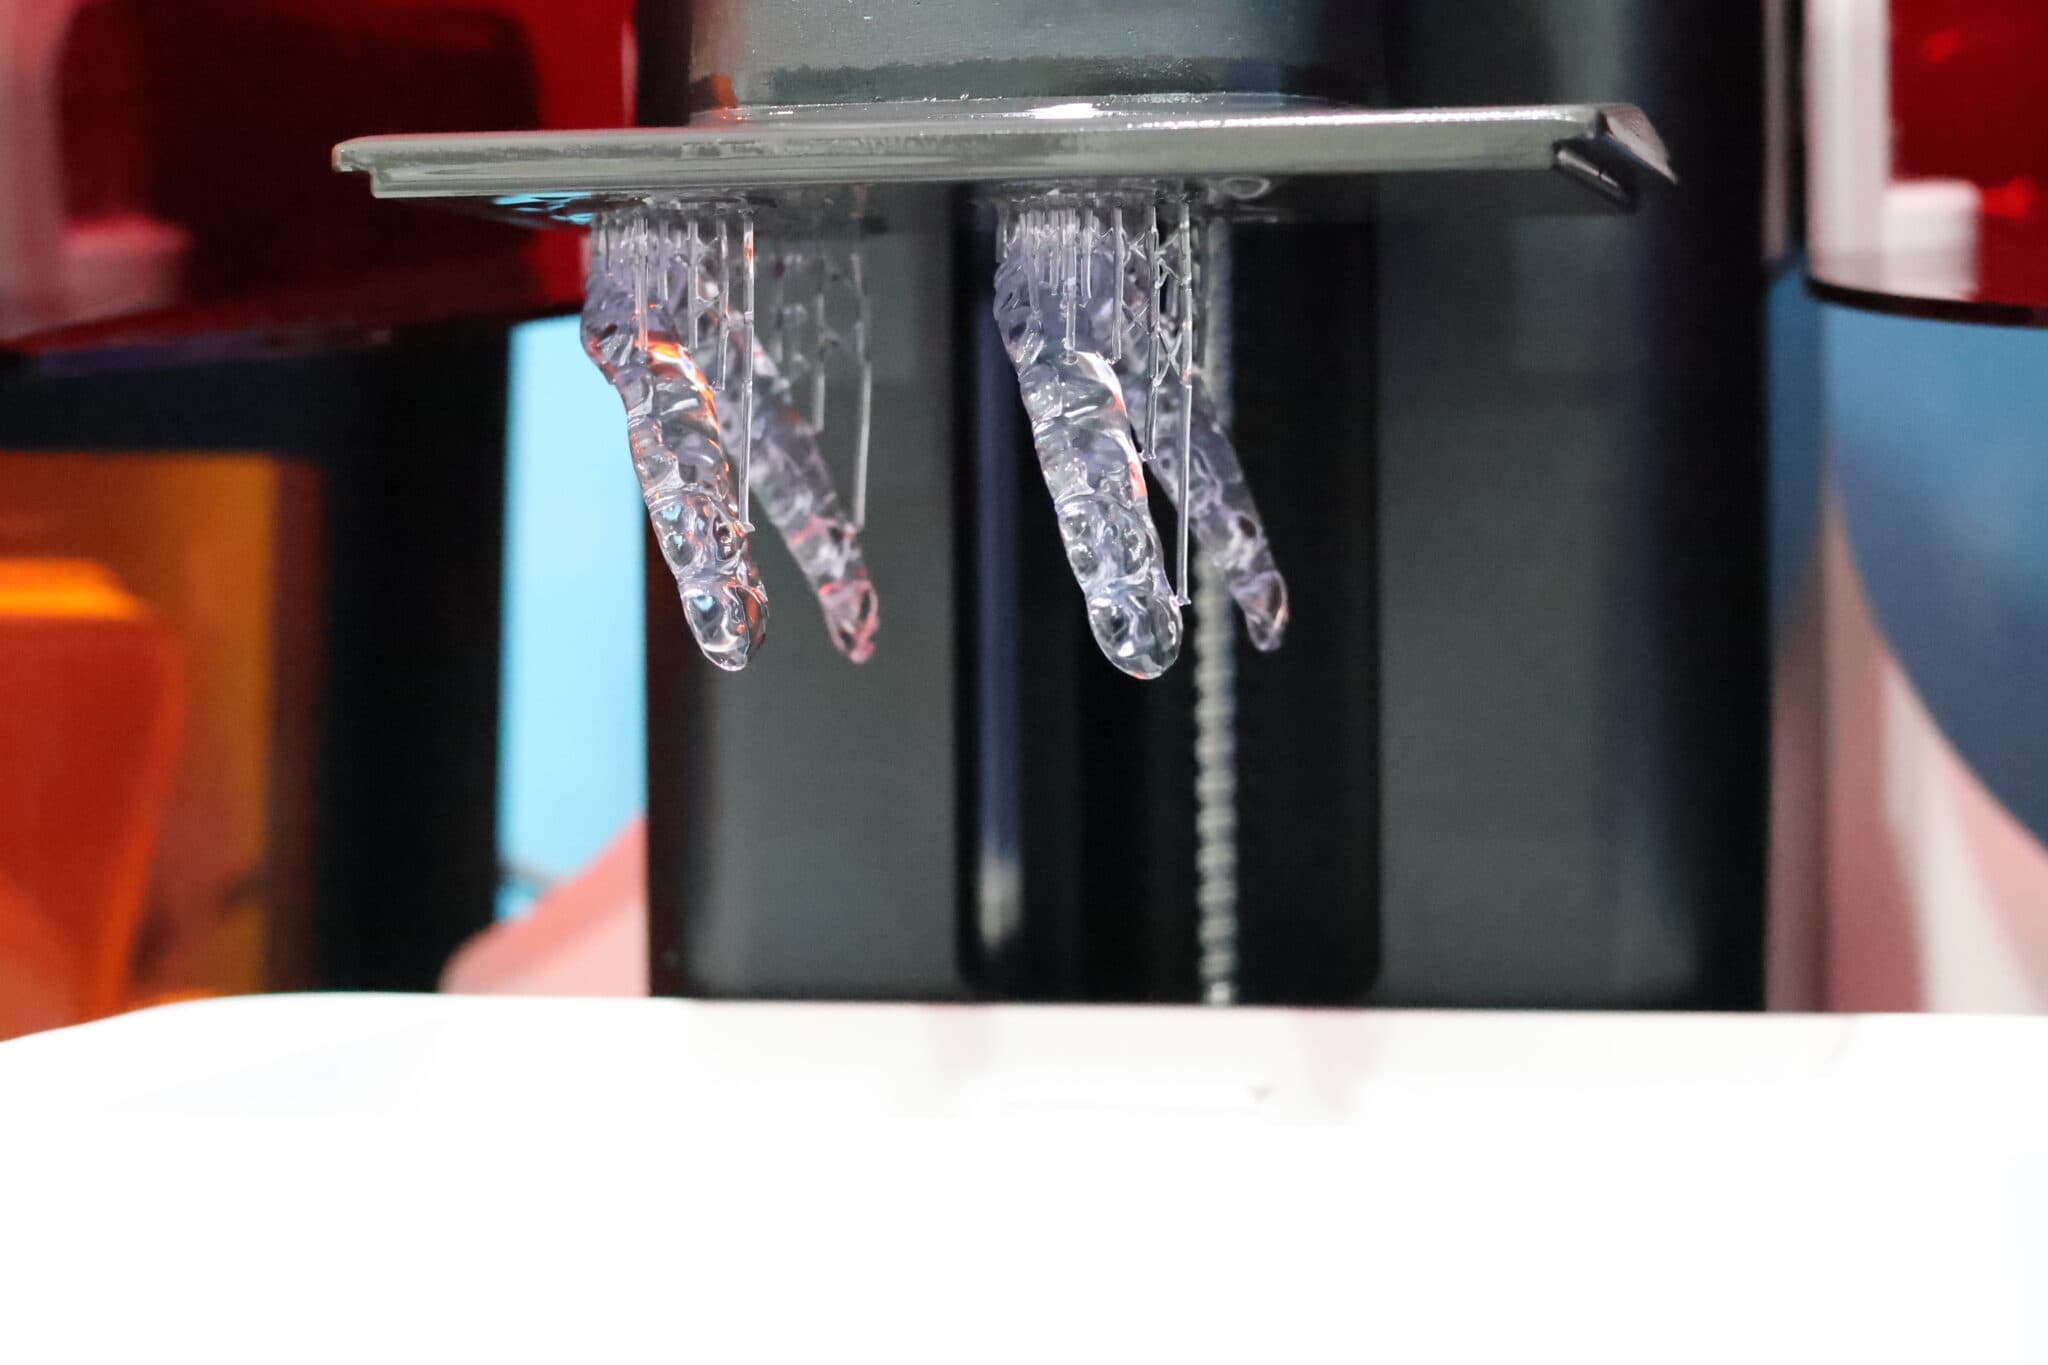
Print time is actually surprisingly decent too! Models orientated horizontally and positioned direct to the build plate will take around 25-30 minutes printed at 100 micron layers. Surgical guides will take around 35-40 minutes. A premolar crown orientated vertically with supports 3mm away from the build plate printed at 100 micron layers with Bego TriniQ will take around 15-17 minutes using the mini plate.
If I had to criticise anything it would be that the surface texture of the build plates is quite rough, so when wiping them down with paper towel, you will leave fibres on the surface – I would recommend wiping them down with a pre-soaked disposable wipe.
The prints I get from the Edge mini are great. The experience is also pretty good too, with some small quality-of-life additions to the printer that really ups its game. The vat is held very securely with electromagnets and it’s very easy to insert and remove the build plate. Warming of resin via the build plate only takes a couple of minutes.
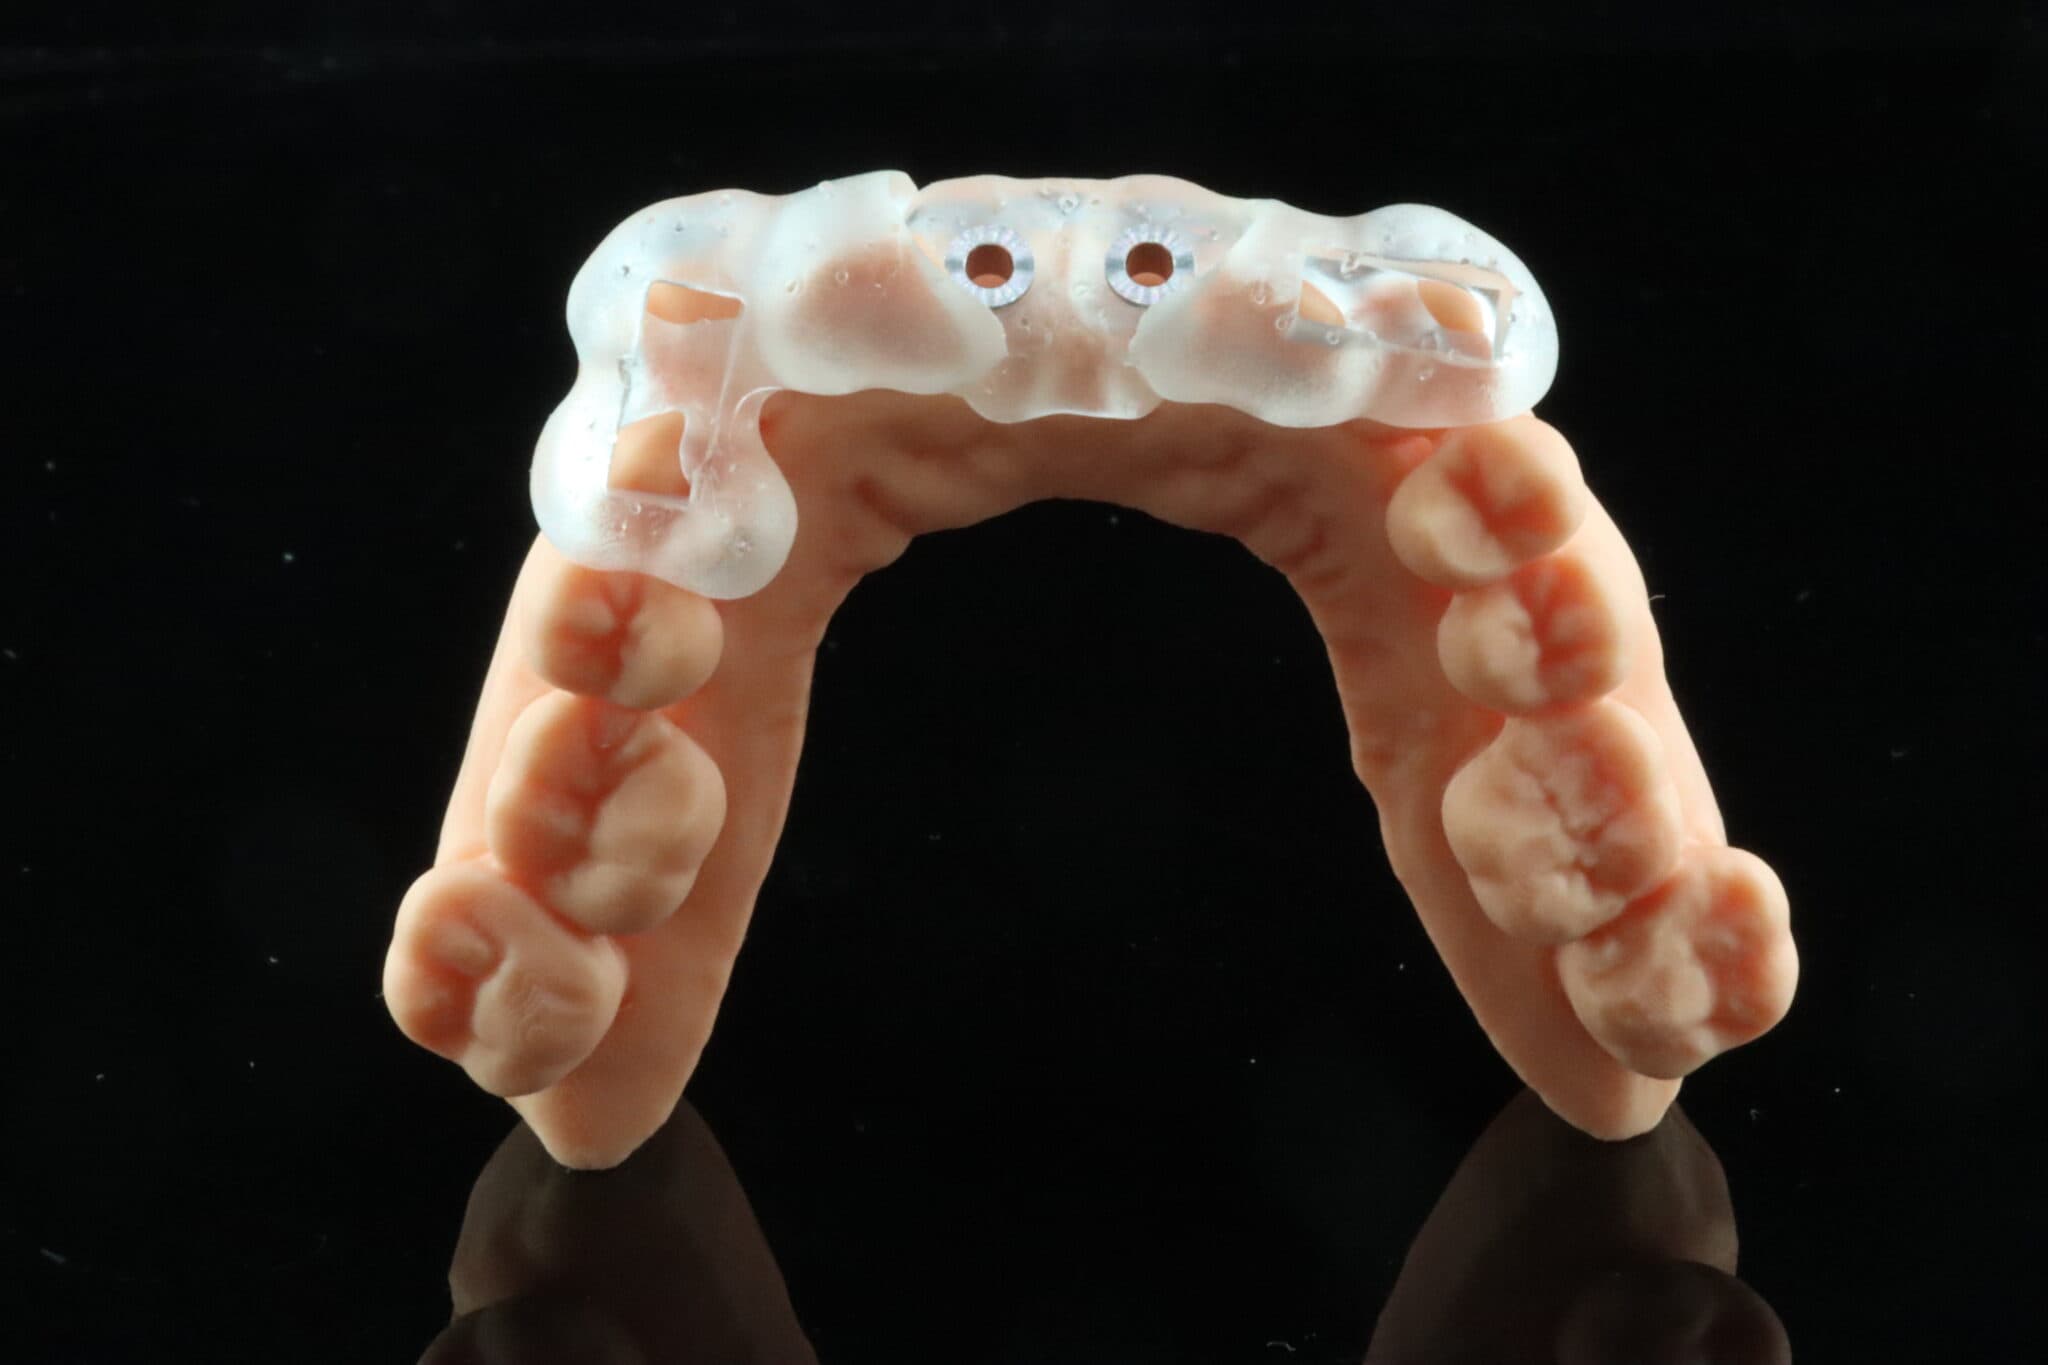
Conclusion
Rayshape clearly wanted to break into the chairside market and the resulting Edge mini is overall a product they can overall be proud of. Its hardware specs are nothing to scoff at and it definitely punches above its weight. However, there is some room for improvement – I do hope they add more resins to their resin library as this would make it a much more attractive unit globally. In addition the slicer does need some minor tweaking – fortunately this can be easily improved via software updates in the future. Overall, the Edge Mini is a great compact unit that is suitable for low-to-medium scale volume and users on a modest budget that still want something that is relatively hassle-free.
3 points why you should get it
- Great print quality
- Compact size which will fit most spaces
- Favourable cost-to-effectiveness ratio
3 points why you shouldn’t get it
- One-Click print function can be buggy and only optimised for models and crowns for now
- Resin library would benefit from further expansion
- Slicer support settings can be buggy occasionally, particularly with restorations (crowns, inlays, onlays, etc.)
