

Asiga Max UV
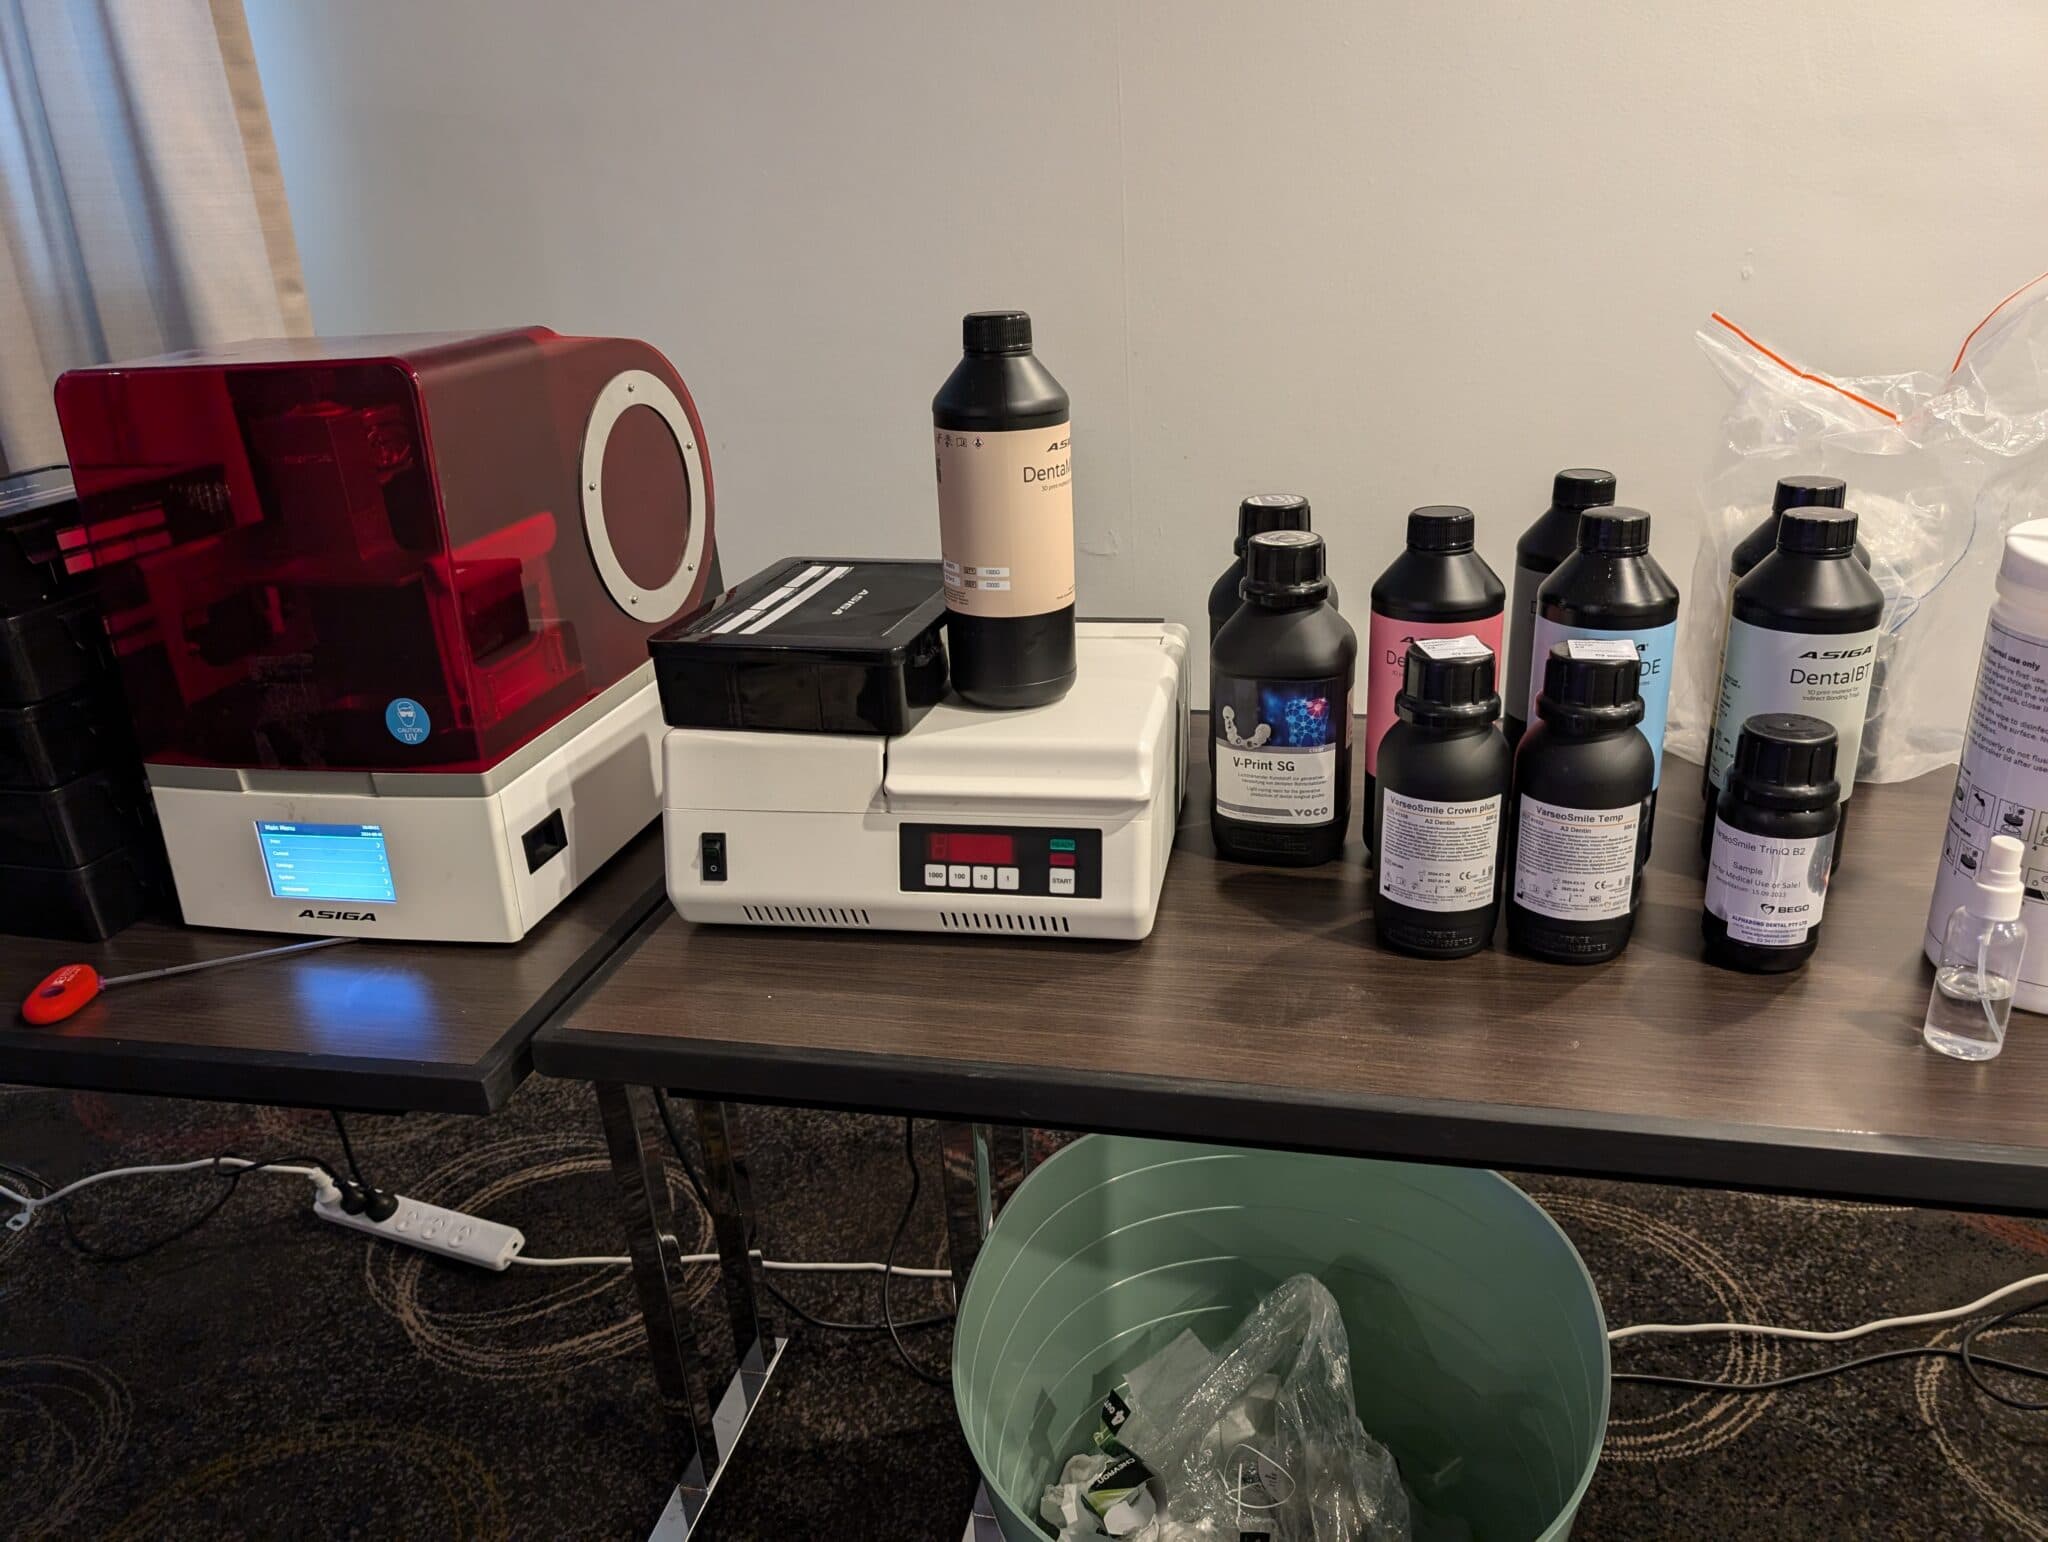
I have a nickname for my Asiga Max UV – Ol’ Faithful. The Asiga brand is held in high regard, particularly in the dental lab market and they quite possibly are the Gold Standard when it comes to open dental 3d printers. Despite its age, with the biggest library of open materials and new UltraGLOSS and soon LIFT trays, the Max UV is no unit to scoff at. Figure 1: The Asiga Max UV – an oldie but a goodie
I have a nickname for my Asiga Max UV – Ol’ Faithful. The Asiga brand is held in high regard, particularly in the dental lab market and they quite possibly are the Gold Standard when it comes to open dental 3d printers. Despite its age, with the biggest library of open materials and new UltraGLOSS and soon LIFT trays, the Max UV is no unit to scoff at.
This is a personal and individual opinion on the Asiga Max UV. Asiga nor any of its global distributors have not been involved in the writing or editing of this piece and have not restricted any conclusions made by myself of this product.
Notable features
- Small physical footprint and print volume
- Straightforward physical set up
- Slow heating and loud fan
- Resin vats have set lifetime based on volume printed
- Huge open resin library
- New vat technologies allow for reduced post-processing and faster prints
- Unreliable connection via Wi-Fi and no USB connection capability
- Software lacks any basic CAD functionality and is not the easiest to navigate
Basics
| Printer size | 26 x 38.5 x 37cm |
| Weight | 130 bananas* |
| Technology | DLP |
| Print volume | Std plate: 11.9 x 6.7 x 7.5cm |
| Slicer | Composer |
| XY resolution | 62 µm |
| Price guide | US$10000 |
* 1 banana = 0.15kg

Set up
Setting up the Max UV is relatively simple but just keep in mind that while the Max UV’s footprint is small, it’s surprisingly heavy!
Levelling is factory-performed, but it is highly recommended to perform it every time the printer is moved. You will need to re-establish “zero position” first prior to zeroing in the position encoders. It’s not exactly hard to do, but it’s a lot easier with newer dental 3D printers. The touchscreen is way too small and the menu is a little confusing to navigate.
The Asiga has a unique latch system that makes it incredibly easy to insert and remove your vats/trays and the mechanism is still an absolute winner to this day.
Wi-Fi connection is not the Max UV’s strong suite and to describe it as inconsistent would be putting it mildly at best. It is far more predictable connecting your PC/laptop via ethernet cable, but it’s a little disappointing that there is no USB capability.
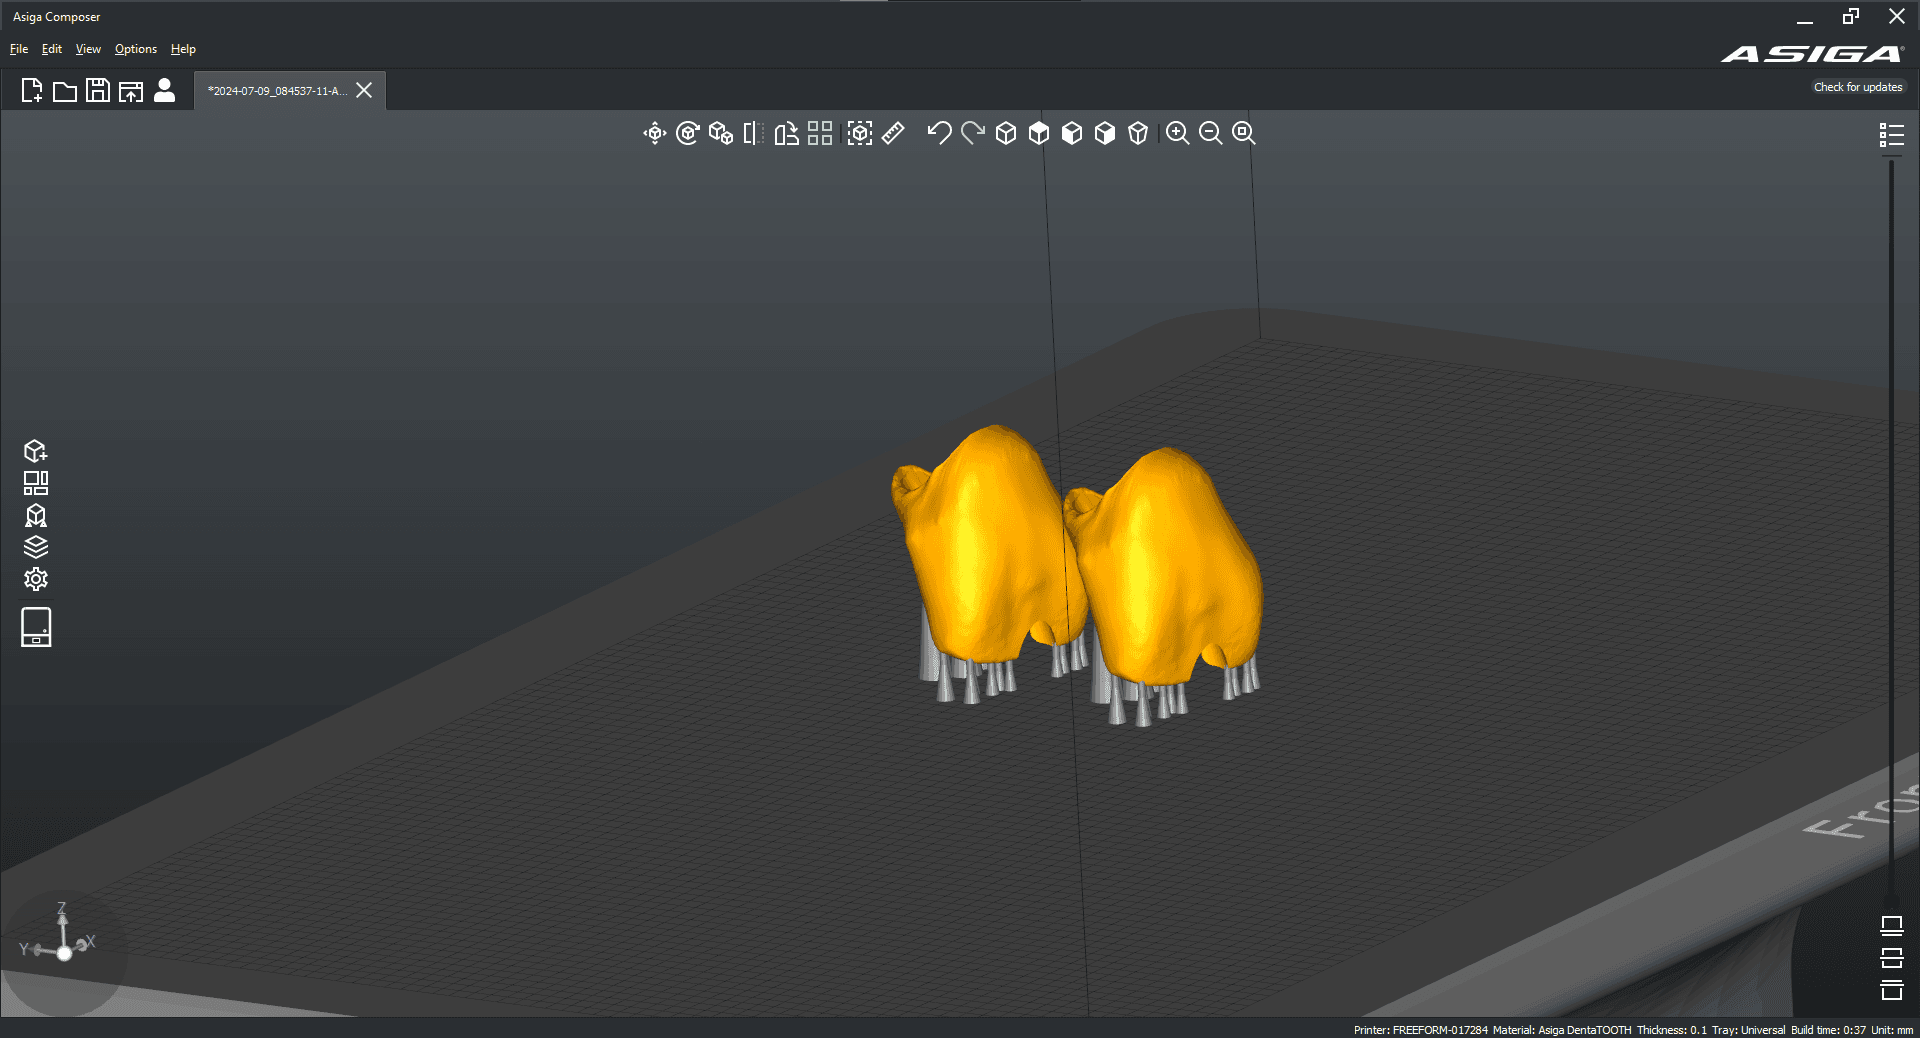
Software
The Asiga Max UV uses Composer, which believe it or not, used to be even harder to navigate through. It has improved with time, but it’s still not the most user-friendly program for the less tech-savvy.
I have found it takes an inordinate number of clicks to position and orientate objects properly. Like many other slicers out in the market, I do feel the icons and fonts could be made bigger. There is a tonne of customisability with the support and print settings, which can confuse new users.
There are unfortunately no basic CAD functions such as hollowing models and addition of drainage holes, which are becoming more and more frequent in other dental slicers.
Resin library
One of the biggest selling points for Max UV is the huge resin library it has access to it. There simply isn’t another 3D printer in the market that comes close to Asiga’s library. You can pretty much print any third-party dental resin in the market and the world is your oyster!
The printing experience
The Asiga does have a heater, but it’s terribly slow and during Winter I’ve found it takes longer to heat the chamber to 30°C than the acutal print itself! The fan during operation is pretty obvious which means it shouldn’t be used in front of patients.
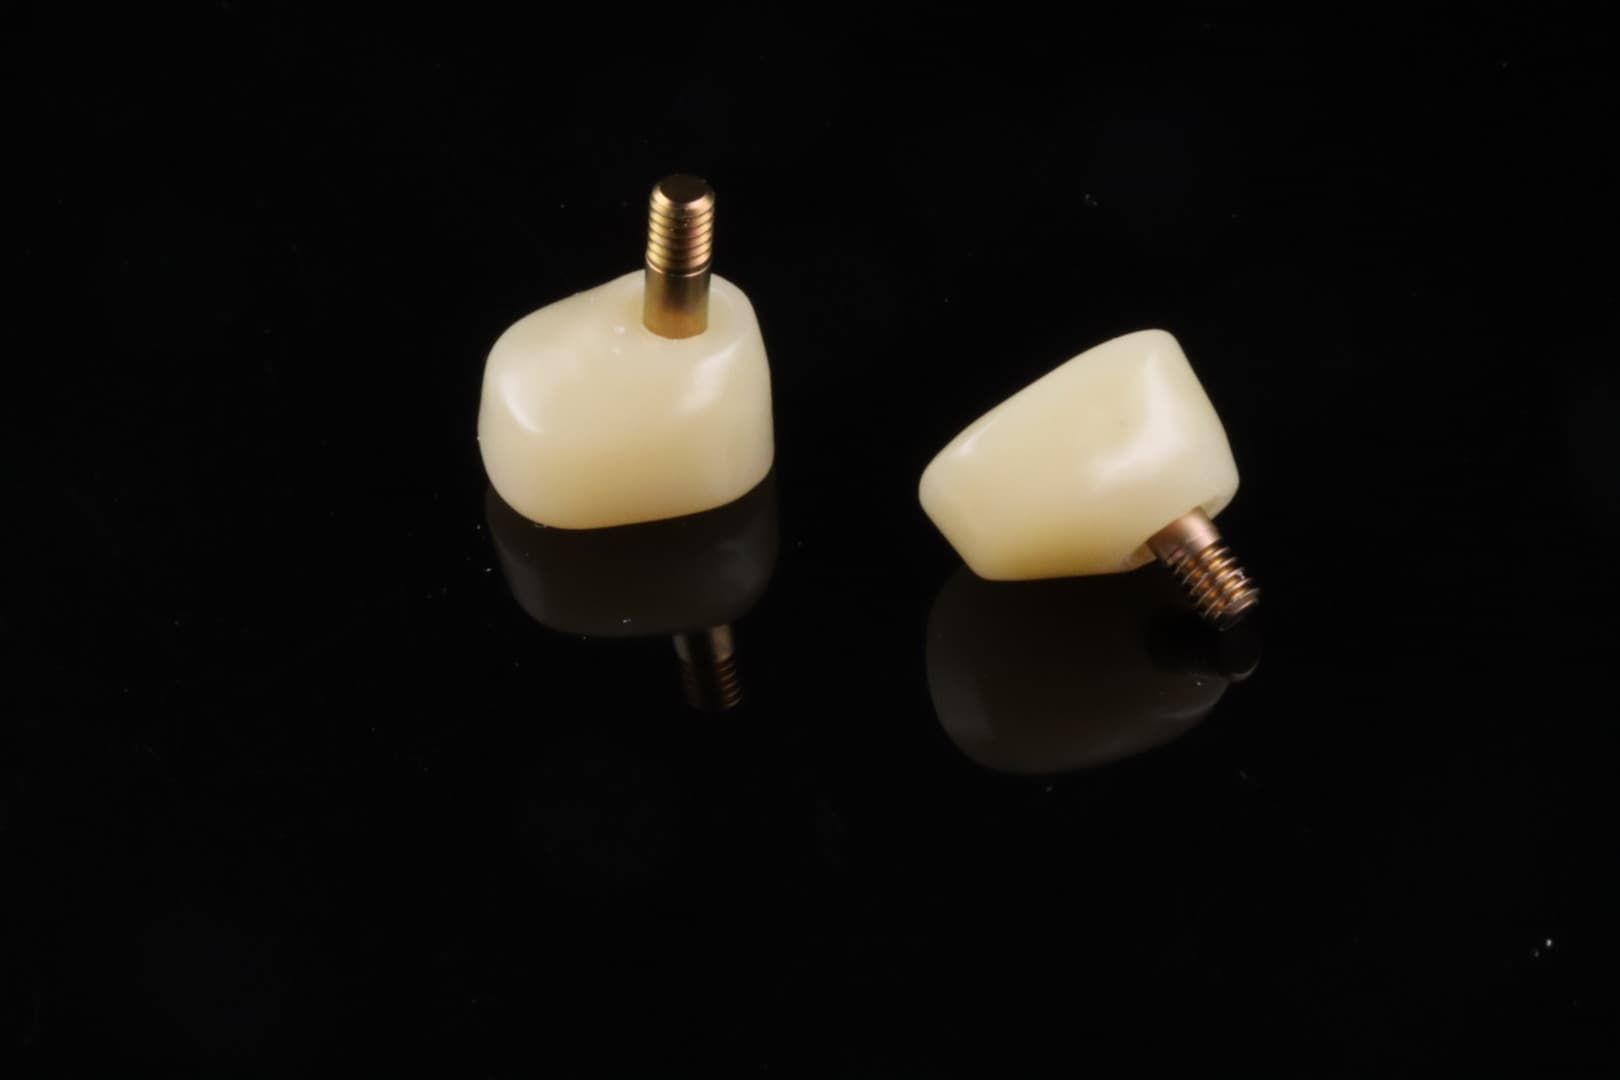
Its age shows in longer print times. Models orientated horizontally and positioned direct to the build plate can take around 30-45 minutes to print at 100 micron (standard) layers, depending on the model resin used. Crowns printed at 100 micron layers out of Rodin Sculpture or Bego TriniQ can take 30-45 minutes too. However I’ve never had fit issues with splints, surgical guides and restorations attributable to the printer itself. Time and time again, The Max UV proves its reliability and consistency. It just works.
I really appreciate the build plate design of the Max UV – it’s so simple but it’s very easy to clean in between prints. Definitely one of the understated strengths of this unit.
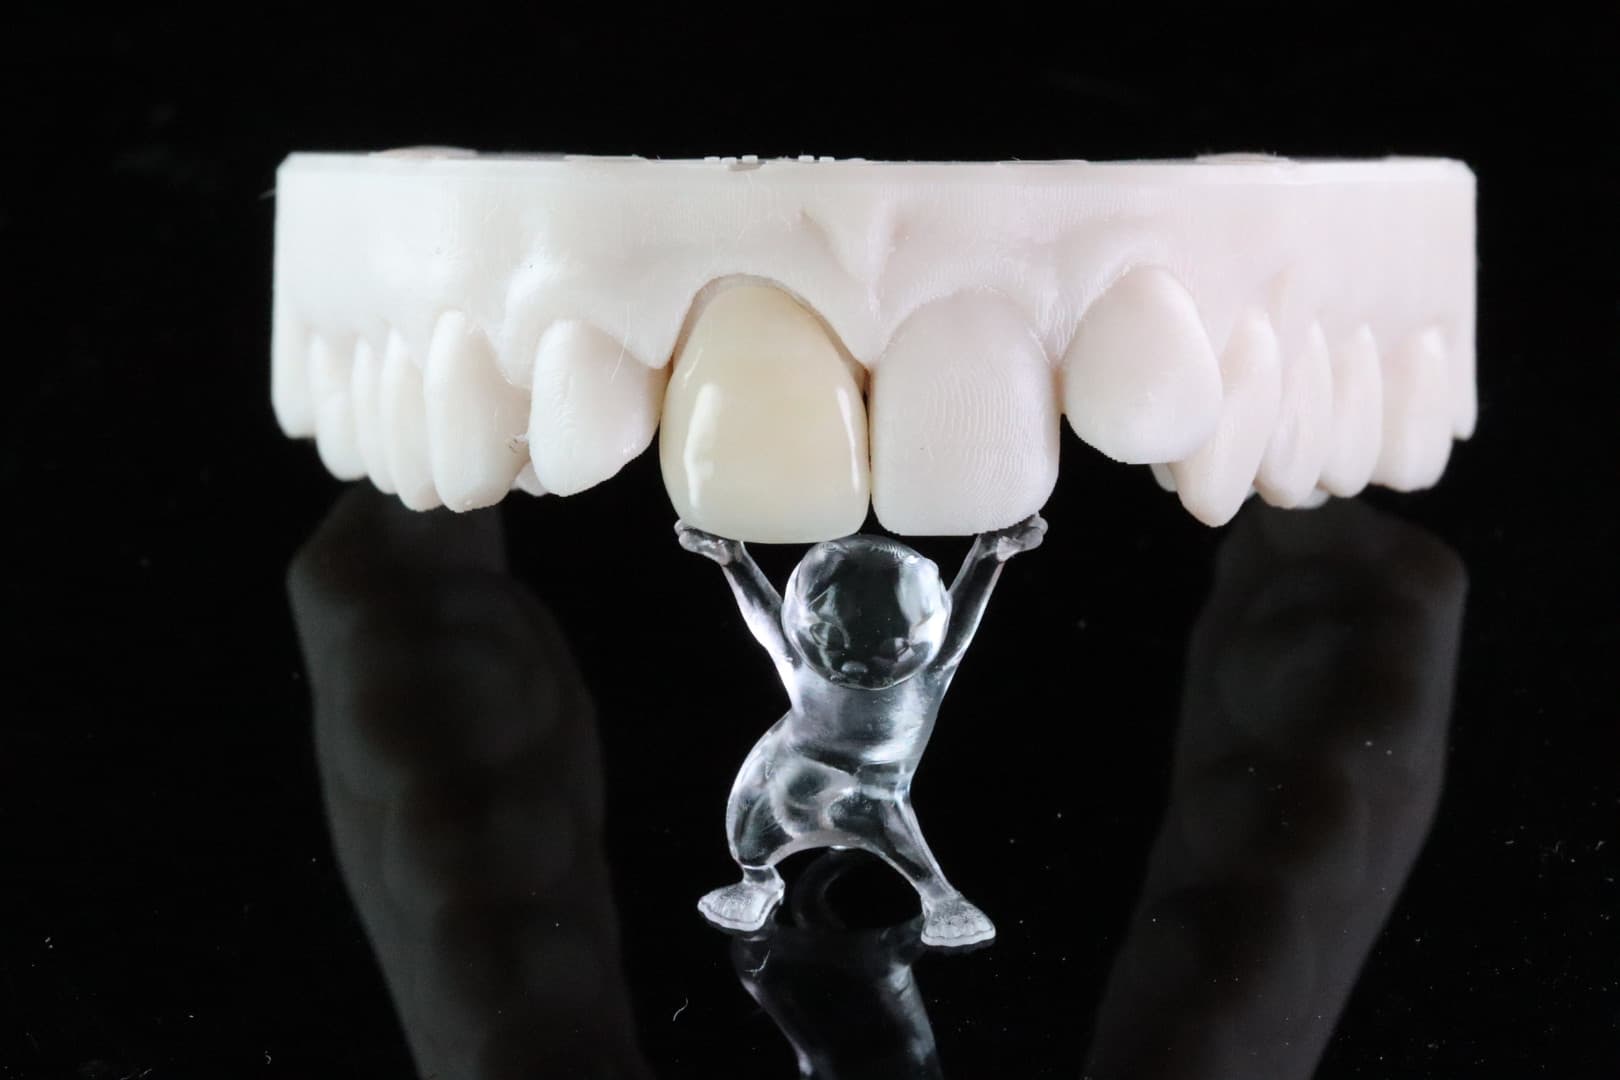
One of the best things to come out of Asiga in recent years is the UltraGLOSS tray, which allows for minimal post-processing of transparent resins post-print. In my opinion, definitely worth the additional cost. I’m also looking forward to the LIFT trays which will apparently cut print time by 20-30%.
One of the biggest gripes with the Asiga experience has got to be the set lifetime each tray has – if you, let’s say, purchase a 1L tray, after printing 1L worth of resin on it, the unit will block you from using the tray, even if it is still functioning perfectly fine. Annoying. For new users, I’d recommend sticking to 1L trays until you get the hang of the workflow.

Conclusion
I honestly feel that the Max UV was too good of a unit for its time. The fact that many users still continue to use their Asiga units after many years is a testament to the quality of the hardware. While the print speed, hardware and software are a little dated compared to some of its competitors these days, the Max UV proves time and time again why Asiga regarded as the king of dental lab printing.
3 points why you should get it
- Huge resin library
- Outstanding print reliability and consistency
- New tray technology that allow for reduced post-processing and faster print times
3 points why you shouldn’t get it
- Inconsistent Wi-Fi connection and no USB functionality
- Expensive vats with set volume lifetime
- Software isn’t user-friendly